For few times I had a situation where I would have liked a way of changing register values in Atmel studio simulator without having to pause the simulation. So I looked into it and found the useful, but overlooked stimulifile. Probably this feature is overlooked by most hobbyist because it’s easier to use real board to debug than to use the time to write a stimulifile for the situation. Anyway I decided to get into this a bit and write a small program to make simple stimulifiles.
Basics of stimulifiles
Atmel has a manual for the simulator 2 stimulifiles it can be found here. How the stimulifile works is based on using CPU ticks as a timing element. Register value syntax is exactly like C coding.
PINA = 0x10
PINA |= 0x10
PINA &= 0x10
PINA ^= 0x10
PINA = *PINB
You can use binary, decimal, hexadecimal, or a pointer to another register. But no expressions.
PINA = 0x34 + 1 // NOT LIKE THIS
Comments are written like C also, except /* ….. */ is not allowed. The simulator stimulifile also has lots of other useful commands but I won’t go into these here.
So back to the timing. Because the system uses CPU ticks as a timing reference every delay in the signal changing must be CPU ticks. For example if we have a CPU with a 1 MHz clock and we want to toggle the first bit in register PINA in 1 millisecond from starting the file. This is how we do that:
// 1 MHz clock means a tick of 1 us. (1/1000000)
// 1 millisecond divided by 1 us equals 1000 ticks
#1000 // delay of 1 ms
PINA ^= 0x01 // Toggle first bit
The important thing is that a delay in stimulifile can never be smaller than the CPU clock period. Another important thing to notice is the hashtag. Everything in between hashtags happens simultaneously, so you can write to multiple registers at the same time and then have delay. Timings are easy to calculate when you have signals that are nice multiplications of the CPU clock period, but they get harder when you have an odd CPU clock and an odd signal. This is why I wrote a small program to do the grunt work.
Stimuli Creator
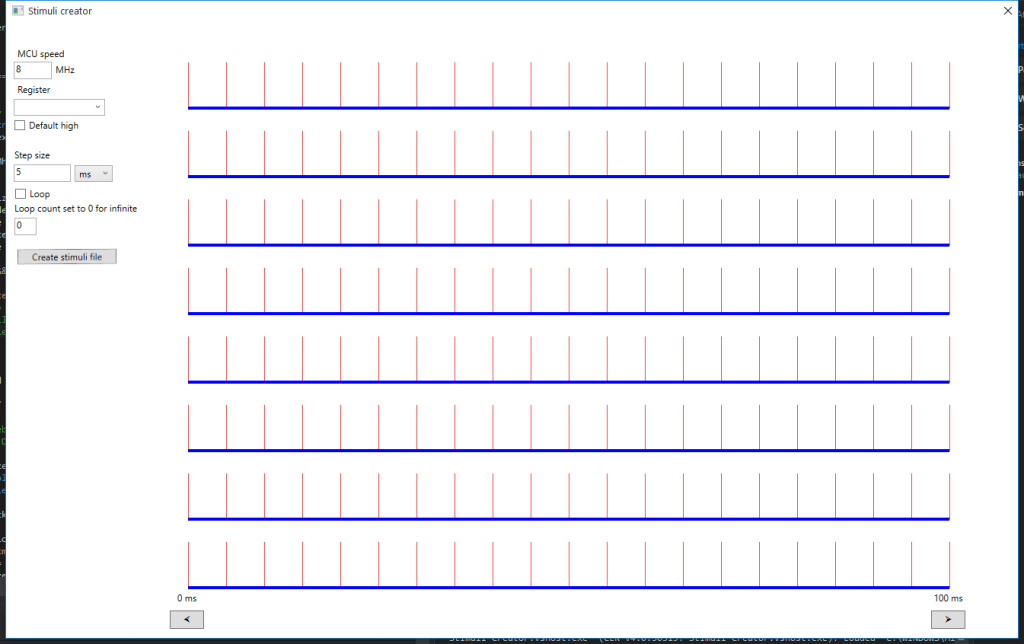
The program is really simple to use you give it the CPU clock speed, the register that you want to stimulate, the size of one step, and you start clicking the values high or low. Top line is bit 0 and it goes down from that to bit 7. I made a loop option to loop the changes if needed. The program is written with C# using WPF and is only tested on Windows. The project files for visual studio 2013 and source codes 7zipped can be downloaded from here. Also there is a compiled version for download here.
